$0.00
Tilt™ Pi v2 Bullseye May23 (Raspberry Pi SD Card Image Download)
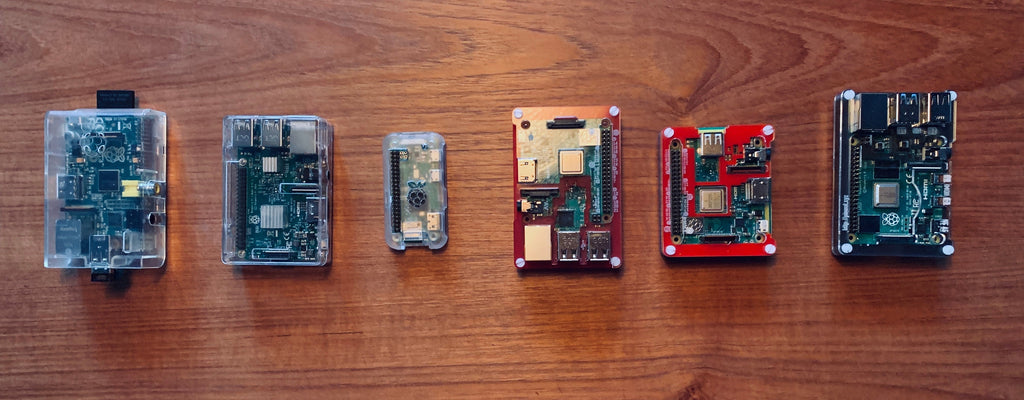
Tilt Pi v2 "Bullseye" SD card image based on Raspberry Pi OS released Sep 2022. Includes Tilt Pi v.2.9.2 Tilt Pi is a local web server and dashboard that logs your Tilt readings to Google Sheets and a variety of 3rd party cloud logging solutions. It runs on all the popular Raspberry Pi models including 3B, 3B+, 3A, 4, Zero W, and Zero W 2 out of the box with no additional hardware (all have WiFi and Bluetooth). It also works on Raspberry Pi 2 with WiFi and BLE adapters. The easiest way to get started is to download our free Tilt Pi image, write to an 8GB or more SD card, add WiFi settings using our built-in setup app, and insert into a Raspberry Pi.
The Tilt Pi is primarily designed for local and cloud logging. If you would like to hook your Raspberry Pi to an HDMI monitor we have a separate "HDMI" version designed for this purpose.
Watch our Youtube install instructions here.
Notes:
- The disk image will automatically startup and log data upon boot, however to customize the system, "pi" is the username and "tilt" is the password.
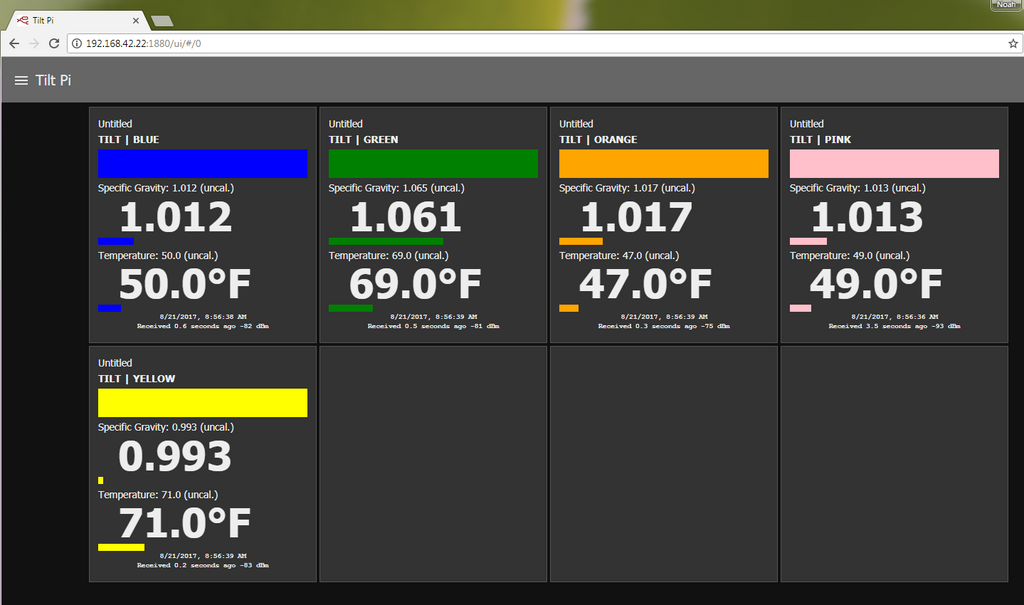
- Once you start up the Tilt Pi disk image, you can access your Tilt Pi dashboard by going to http://tiltpi.local:1880/ui (iOS/MacOS/Windows 10/11) or by clicking on the link in the "Setup Complete" email at http://x.x.x.x:1880/ui where x.x.x.x is the IP address of your Raspberry Pi.
- After going to the Tilt Pi dashboard we recommend updating the Tilt Pi software by going to the menu under System->Update App (Flow).
To facilitate WiFi and cloud logging setup, we have included a "SETUP.html" file on the SD card. After making your SD card on a laptop or desktop computer, locate the file "SETUP.html" on the SD card named "boot". This file will guide you through creating the configuration files to copy over your SD card to get your Tilt Pi going. Once configured it will connect to your local WiFi network and you'll receive an email with a link to your cloud data log as well as link to your Tilt Pi dashboard to change settings, calibrate, and view data on your local network. If you have had trouble with reliable logging on one of your tablet or phone devices in the past, this is a great option. We do not sell the Raspberry Pi hardware, however there are many options online to purchase in the region you are in. Costs for a basic set up should be under US $40, depending on version purchased. We plan to make continual improvements on this platform:
Items in bold are new to version 2:
- Reliable cloud and local logging using built-in Bluetooth and WiFi wireless technology. Now includes automatic backup for restoring system after power outage.
- Streamlined WiFi and cloud setup using Mac or PC. Once the SD card is configured on a PC/Mac and inserted into the Raspberry Pi, the system starts logging data immediately upon boot up. Set up logging on 8 Tilt hydrometers prior to starting up the Tilt Pi.
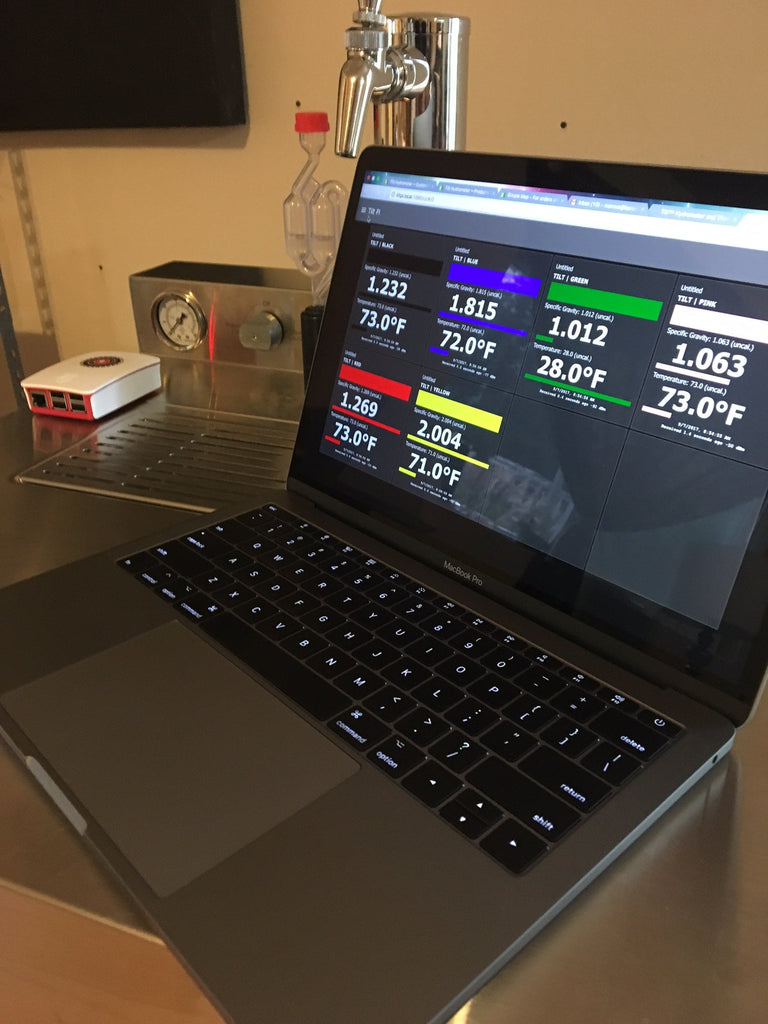
- Familiar dashboard similar to iPhone / Android app and is accessible anywhere on connected local WiFi network via standard web browser.
- Variable cloud logging intervals (Google Sheets or others) as well as local logging intervals with intervals as short as 6 seconds or as long as 1 hour. Log to an unlimited number of cloud logging services at the same time.
- USB drive compatibility to copy log files upon insertion of usb stick.
- SG and temperature calibration: Simplified calibration interface and improve ability to enter and edit individual points.
- Celsius, Fahrenheit, Plato, Brix, and SG options.
- Link to Google Sheet directly from the main display. Just click on the display to go straight to your Google Sheet log.
What’s Required:
- Downloaded Tilt Pi SD card image file from Baron Brew (use "Download Now" button above)
- PC, Mac, or Linux computer to configure SD card.
- Micro SD card, 8GB or more.
- SD Card Reader for above computer.
- Chrome or Firefox.
- Etcher or Raspberry Pi Imager for making or ‘burning’ the Tilt Pi SD card image. Get it here.
- Raspberry Pi 4, 3B, 3B+, 3A, 2 (with BLE and WiFi adapters), Zero W or Zero W 2. We recommend using rpilocator.com to find one in stock at an official Raspberry Pi reseller (lower cost). Required accessories using a high current, up to 2.5 amp 5v USB AC adapter. For the RPi 4 you will need a micro-USB to USB C adapter. Note that lower current adapters may have stability issues.


